As an Amazon Associate this site earns from qualifying purchases.
If you are wondering how to set up Eheim Classic 250 angelfish breeding tank conditions correctly, the short answer is: dial the flow down to roughly half of the rated 264 GPH, load the canister with a coarse-to-fine mechanical stack feeding into biological ceramics, position the spray bar or output along the back wall to create gentle laminar movement, and pair it with stable 78-82°F soft, slightly acidic water. Angelfish (Pterophyllum scalare) are sensitive spawners that pair off, lay eggs on vertical surfaces, and demand pristine but slow-moving water. The Eheim Classic 2213 (the 250 designation) is a long-standing favorite for 30-55 gallon breeders because it runs nearly silent, sips electricity at about 8 watts, and is mechanically simple enough that you can service it without disturbing a guarding pair.
Why the Eheim Classic 250 Suits an Angelfish Breeding Tank
The Classic 250, model number 2213, is rated for aquariums up to 66 gallons, but in a breeding context you will typically run it on a 29 to 40 gallon tank. That oversizing is intentional. Breeding angelfish produce a heavy bioload during fry rearing, and slime coat shedding from the protective parents adds dissolved organics that a marginally sized filter cannot handle. The Classic is essentially a sealed bucket with one pump head and no bypass channels, which means every drop of water passes through every layer of media you load. That single-path design is the secret weapon for breeders, because it lets you build a custom media stack tuned for bacterial colonization and fine particle polishing without water shortcutting around it.
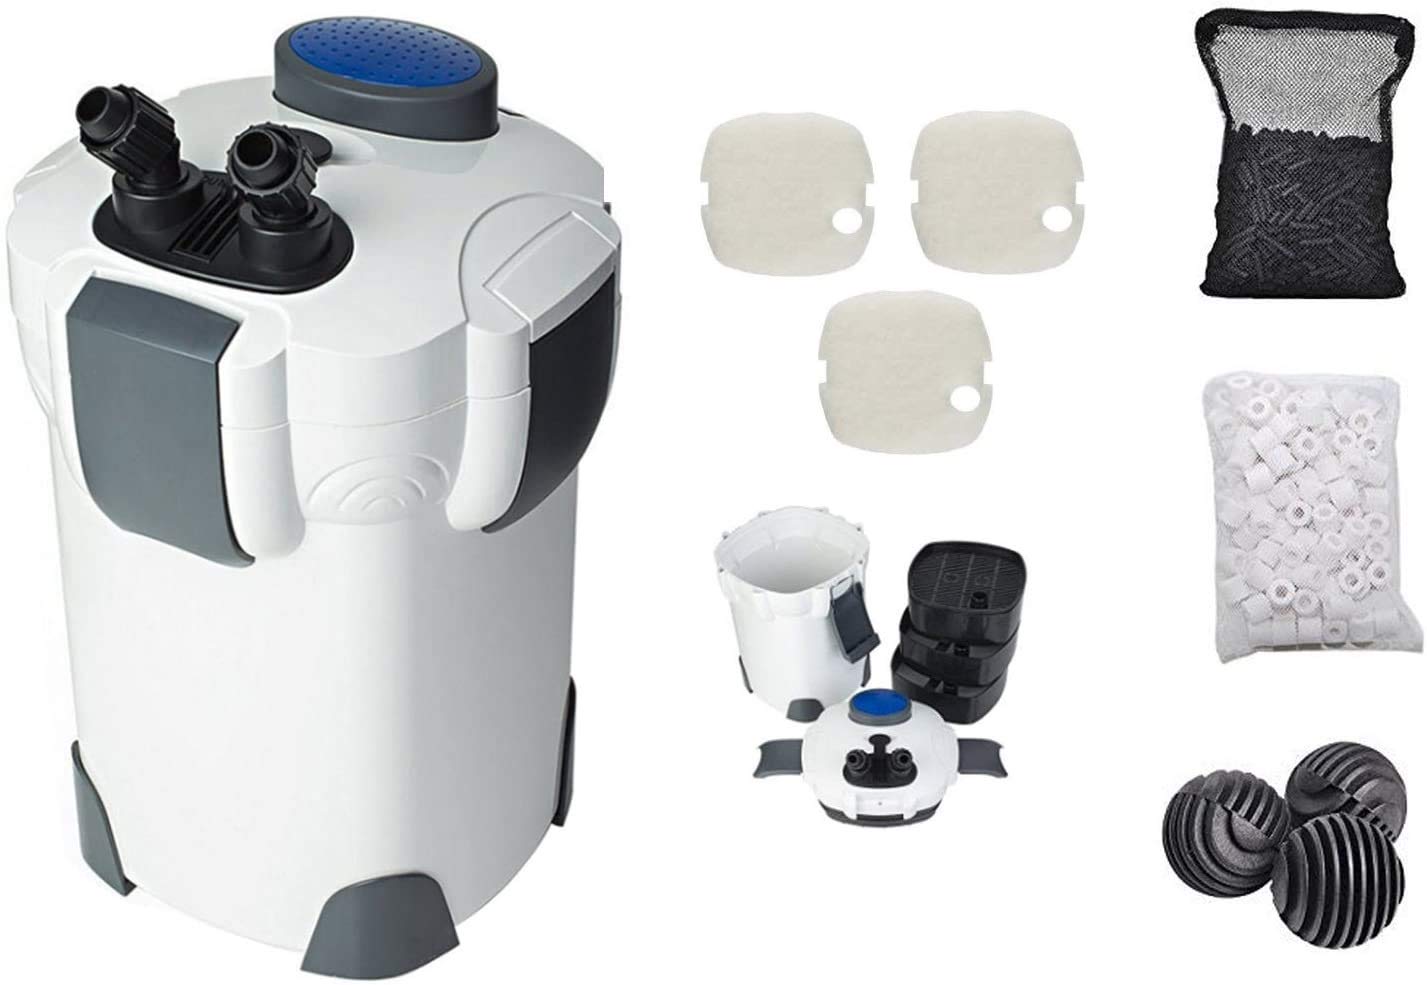
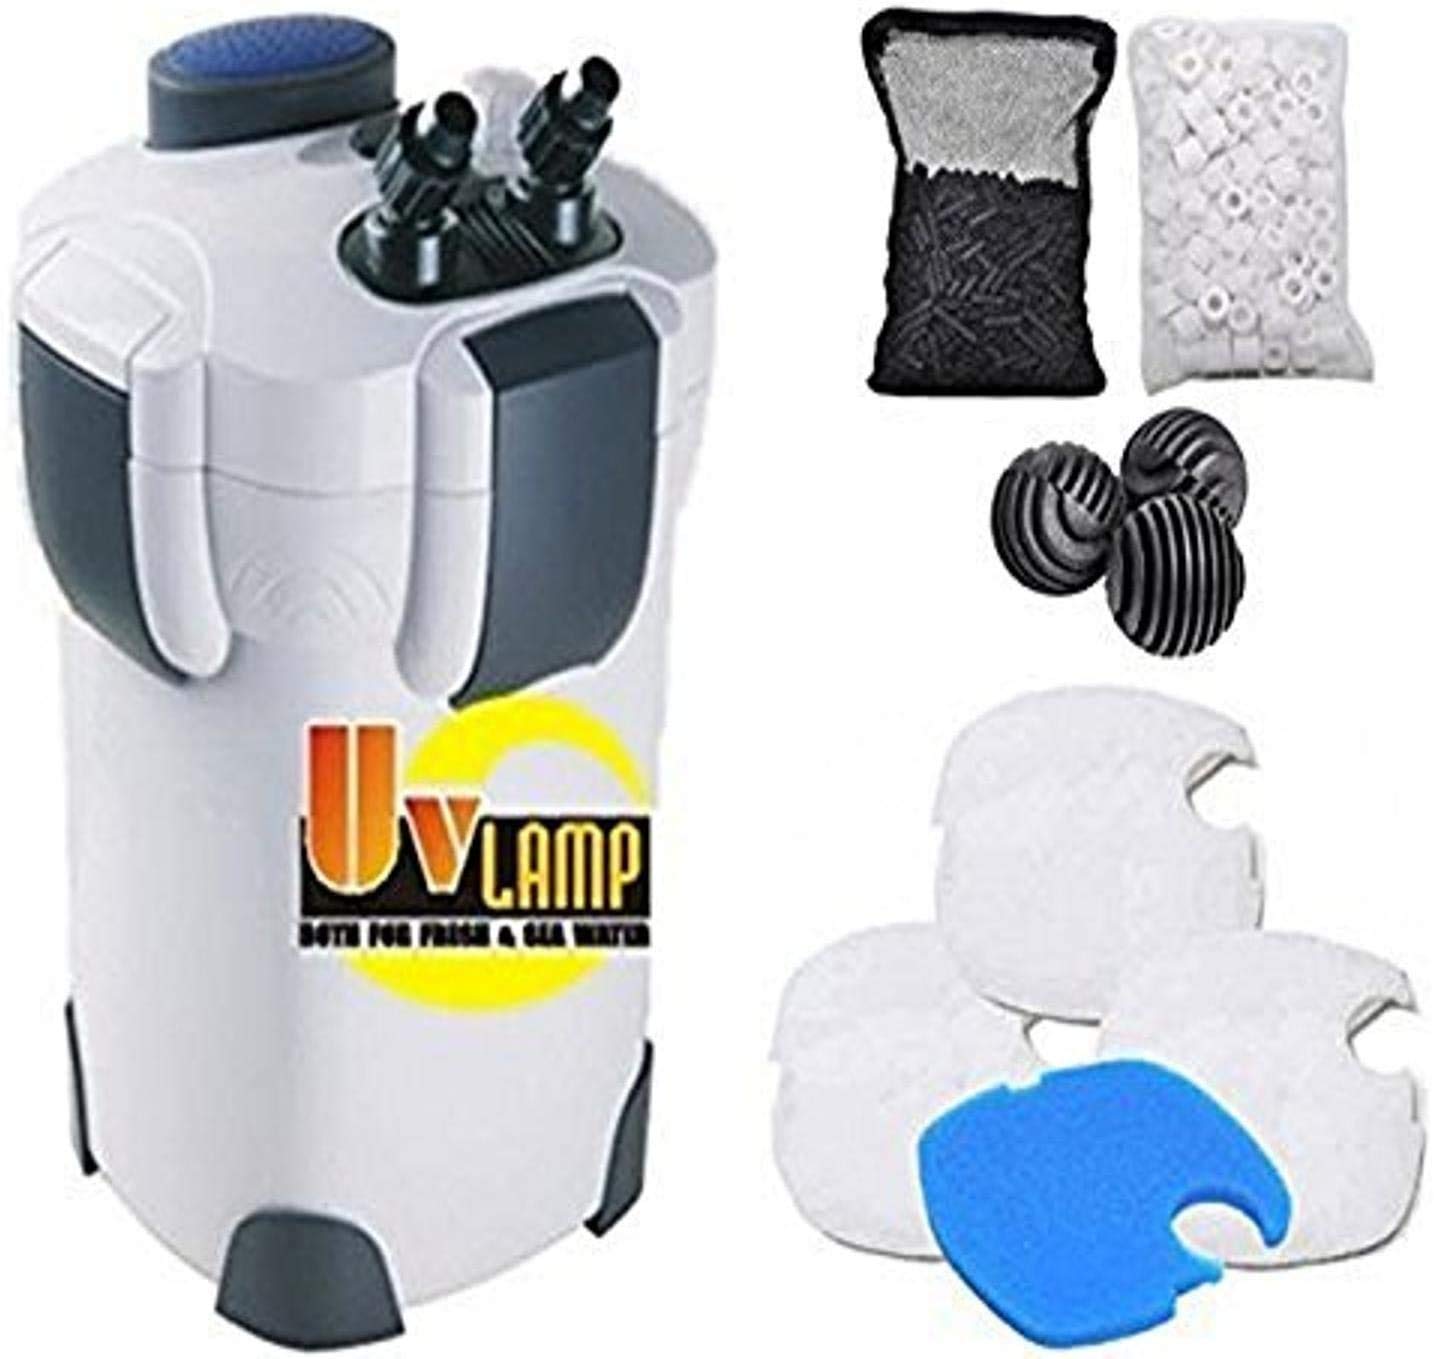
Equally important, the Classic's pump is a simple impeller with no electronics, no priming buttons, and no flow sensors. There is less to fail mid-spawn, and the canister can be opened, rinsed, and reassembled in under ten minutes once you have a routine. Pair owners who fuss with their tanks daily will appreciate that the Classic does not need attention more often than every six to eight weeks.

- 【Rapid Heating and Two Temperature Control System】50W aquarium heater is sutable for 5-10 gallon fish tank and made of the most stable nickel-chromium heating wire, which can
- 【Intelligent Water Sensor and Over Temperature Protection】This fish tank heater has a unique intelligent temperature and water sensor system, the heater will automatically stop

- ALL-IN-ONE AQUARIUM KIT, PACKED WITH VALUE - Comes complete with HD float 10 gallon glass tank, heater, Hang on Back filter, LED light, 5-in-1 cleaning tool set—no extra
- KEEPS TROPICAL & COLD-SENSITIVE FISH COMFORTABLE - Unlike most aquarium kits, ours comes with a reliable heater—essential for keeping delicate fish warm and healthy year-round
Step 1: Prepare the Breeding Tank Itself
Before the canister even comes out of the box, the tank needs to be set up for angelfish reproduction. A 29-gallon long or 40-gallon breeder shape works well. Skip substrate or use a thin layer of fine sand; bare bottoms are easier to siphon between spawns and reduce bacterial blooms that wipe out fry. Place two or three vertical spawning surfaces: slate tiles leaning against the back glass, large Amazon sword leaves, or sections of black PVC pipe cut lengthwise. Heat the tank to 80°F with a reliable submersible heater, and if you are unsure which model to trust, this aquarium heater guidance walks through wattage matching and placement for breeding setups.
Aim for these water parameters before introducing a pair:
- Temperature: 80°F (range 78-82°F)
- pH: 6.5-6.8
- GH: 3-5 dGH
- KH: 2-4 dKH
- TDS: 100-180 ppm
- Ammonia and nitrite: 0 ppm
- Nitrate: under 10 ppm
Most municipal tap water is too hard and too alkaline for reliable hatch rates, so plan to cut tap with RO water at roughly a 50/50 ratio. Pair this with a steady maintenance routine described in this aquarium water care guide, which covers remineralization for RO blends.
Step 2: Unbox and Inspect the Canister
The Eheim Classic 250 ships with the canister body, pump head, two 16/22 mm hoses, an intake strainer, a spray bar, an outlet elbow, two double tap connectors (depending on region), a thin blue polishing pad, a coarse blue pad, white floss, and a bag or two of EHFIMECH ceramic rings and Substrat Pro bioballs. The factory media kit is acceptable but not optimal for a breeding tank. Set it aside and plan your own stack.
Lubricate the main canister O-ring with a thin film of silicone grease (a small tube usually comes with the unit). Check the impeller and ceramic shaft for shipping debris. Mount the dual tap connectors if your regional kit includes them, because being able to shut off and detach the hoses without draining is essential when you need to clean during a spawn cycle.
Step 3: Build the Media Stack
Media order is the single biggest factor in long-term canister performance. With the Classic 250, water enters at the bottom of the basket-less chamber and travels upward through whatever you stack inside, then exits through the pump head at the top. Build from coarse to fine:
- Bottom layer (mechanical, coarse): The included coarse blue foam pad cut to fit the canister floor. This strips out the largest debris first and keeps biological media from clogging.
- Middle layer (biological, primary): Eheim Substrat Pro or equivalent sintered glass ceramic, loose-filled to roughly 50% of internal volume. This is where your nitrifying bacteria live, and for a breeding tank you want as much surface area as you can fit.
- Secondary biological: A thin band of ceramic rings (EHFIMECH) or matrix-style media. Some breeders skip this in favor of more Substrat Pro; either approach works.
- Polishing layer (fine mechanical): The blue fine pad followed by a thin sheet of white floss directly under the pump head. The floss is replaced every two to three weeks; the rest of the stack is rinsed in tank water every six to eight weeks.
If you are weighing media philosophy for breeding tanks specifically, the comparison in this canister filter media breakdown walks through why bio-volume usually matters more than mechanical capacity once a tank is cycled. For an even broader view of media tradeoffs across brands, this overview of the best aquarium filters of 2026 includes recent data on cycle stability under heavy fry loads.
Step 4: Plumb the Intake and Outflow for Fry Safety
This is where most breeders get the Classic 250 wrong. A bare intake strainer will inhale fry the moment they go free-swimming. Cover the intake with a foam pre-filter sponge (Hydro-style 160 or 220 sponges fit the 12 mm strainer with a slight stretch). The sponge acts as a fry barrier, adds mechanical filtration, and harbors infusoria that newly free-swimming fry can graze on.
For the return, use the included spray bar mounted horizontally along the upper back wall, with the holes aimed slightly upward at the surface. This achieves three goals at once: it disperses flow so no single area is turbulent, it agitates the surface for oxygen exchange (critical for embryonic eggs guarded by parents), and it keeps the current away from the spawning slate. Avoid directing the return at the front glass or down toward the substrate, which creates the kind of swirling current that exhausts fry and stresses pairs.
Step 5: Prime, Start, and Tune
The Classic 250 is self-priming if you fill the canister with water before sealing it. Disconnect the intake hose from the tap, fill the canister to the brim, reconnect, and open both taps. Some users add a small inline priming bulb on the intake side; it is optional but useful for a tank you will service often. Plug in the pump. Expect a brief gurgle as residual air clears, typically within 30 to 60 seconds.
Out of the box, the 2213 runs at 264 GPH (1000 L/h), which is too much for a breeding tank. Use the output tap to throttle flow to roughly 50-60% of maximum. You should see gentle ripple at the surface, with a slow drift visible to floating plants. If a guarding pair is fanning eggs visibly hard against the current, you have too much flow.
Step 6: Cycle Before Introducing the Pair
Never introduce a breeding pair into an uncycled tank. The Classic 250 will host nitrifying bacteria within four to six weeks of fishless cycling using pure ammonia dosed to 2-3 ppm, or in two to three weeks if you seed the new media with a handful of ceramic rings borrowed from an established filter. Test daily for ammonia and nitrite, water-change to keep nitrate under 20 ppm during cycling, and only add your pair once both ammonia and nitrite read zero within 24 hours of a fresh 2 ppm dose.
Step 7: Maintenance Rhythm Around Spawns
Here is the cadence that works for most breeders running a Classic 250:
- Daily: 10-15% water change with temperature- and pH-matched RO blend. Fry need pristine water and respond to daily fresh water with faster growth.
- Weekly: Rinse the intake pre-filter sponge in old tank water (never tap), and replace the white floss layer if it is clogged.
- Every 6-8 weeks: Open the canister, rinse the coarse and fine pads in dechlorinated water or removed tank water, and lightly swish (do not scrub) the bioceramic layer. Reassemble with the same media order. Avoid full media replacement; the Classic's bacterial population takes weeks to recover from a deep clean.
Step 8: Supplemental Gear That Complements the Classic 250
The Classic 250 handles filtration cleanly, but breeding tanks benefit from a few additions:
- Sponge filter (secondary): A small air-driven sponge filter in a back corner provides redundancy and a safe place for fry to graze on infusoria. It also covers the brief window when you have to clean the canister.
- Inline heater: Optional, but it keeps the breeding tank visually clean and removes a glass tube the parents might rub against.
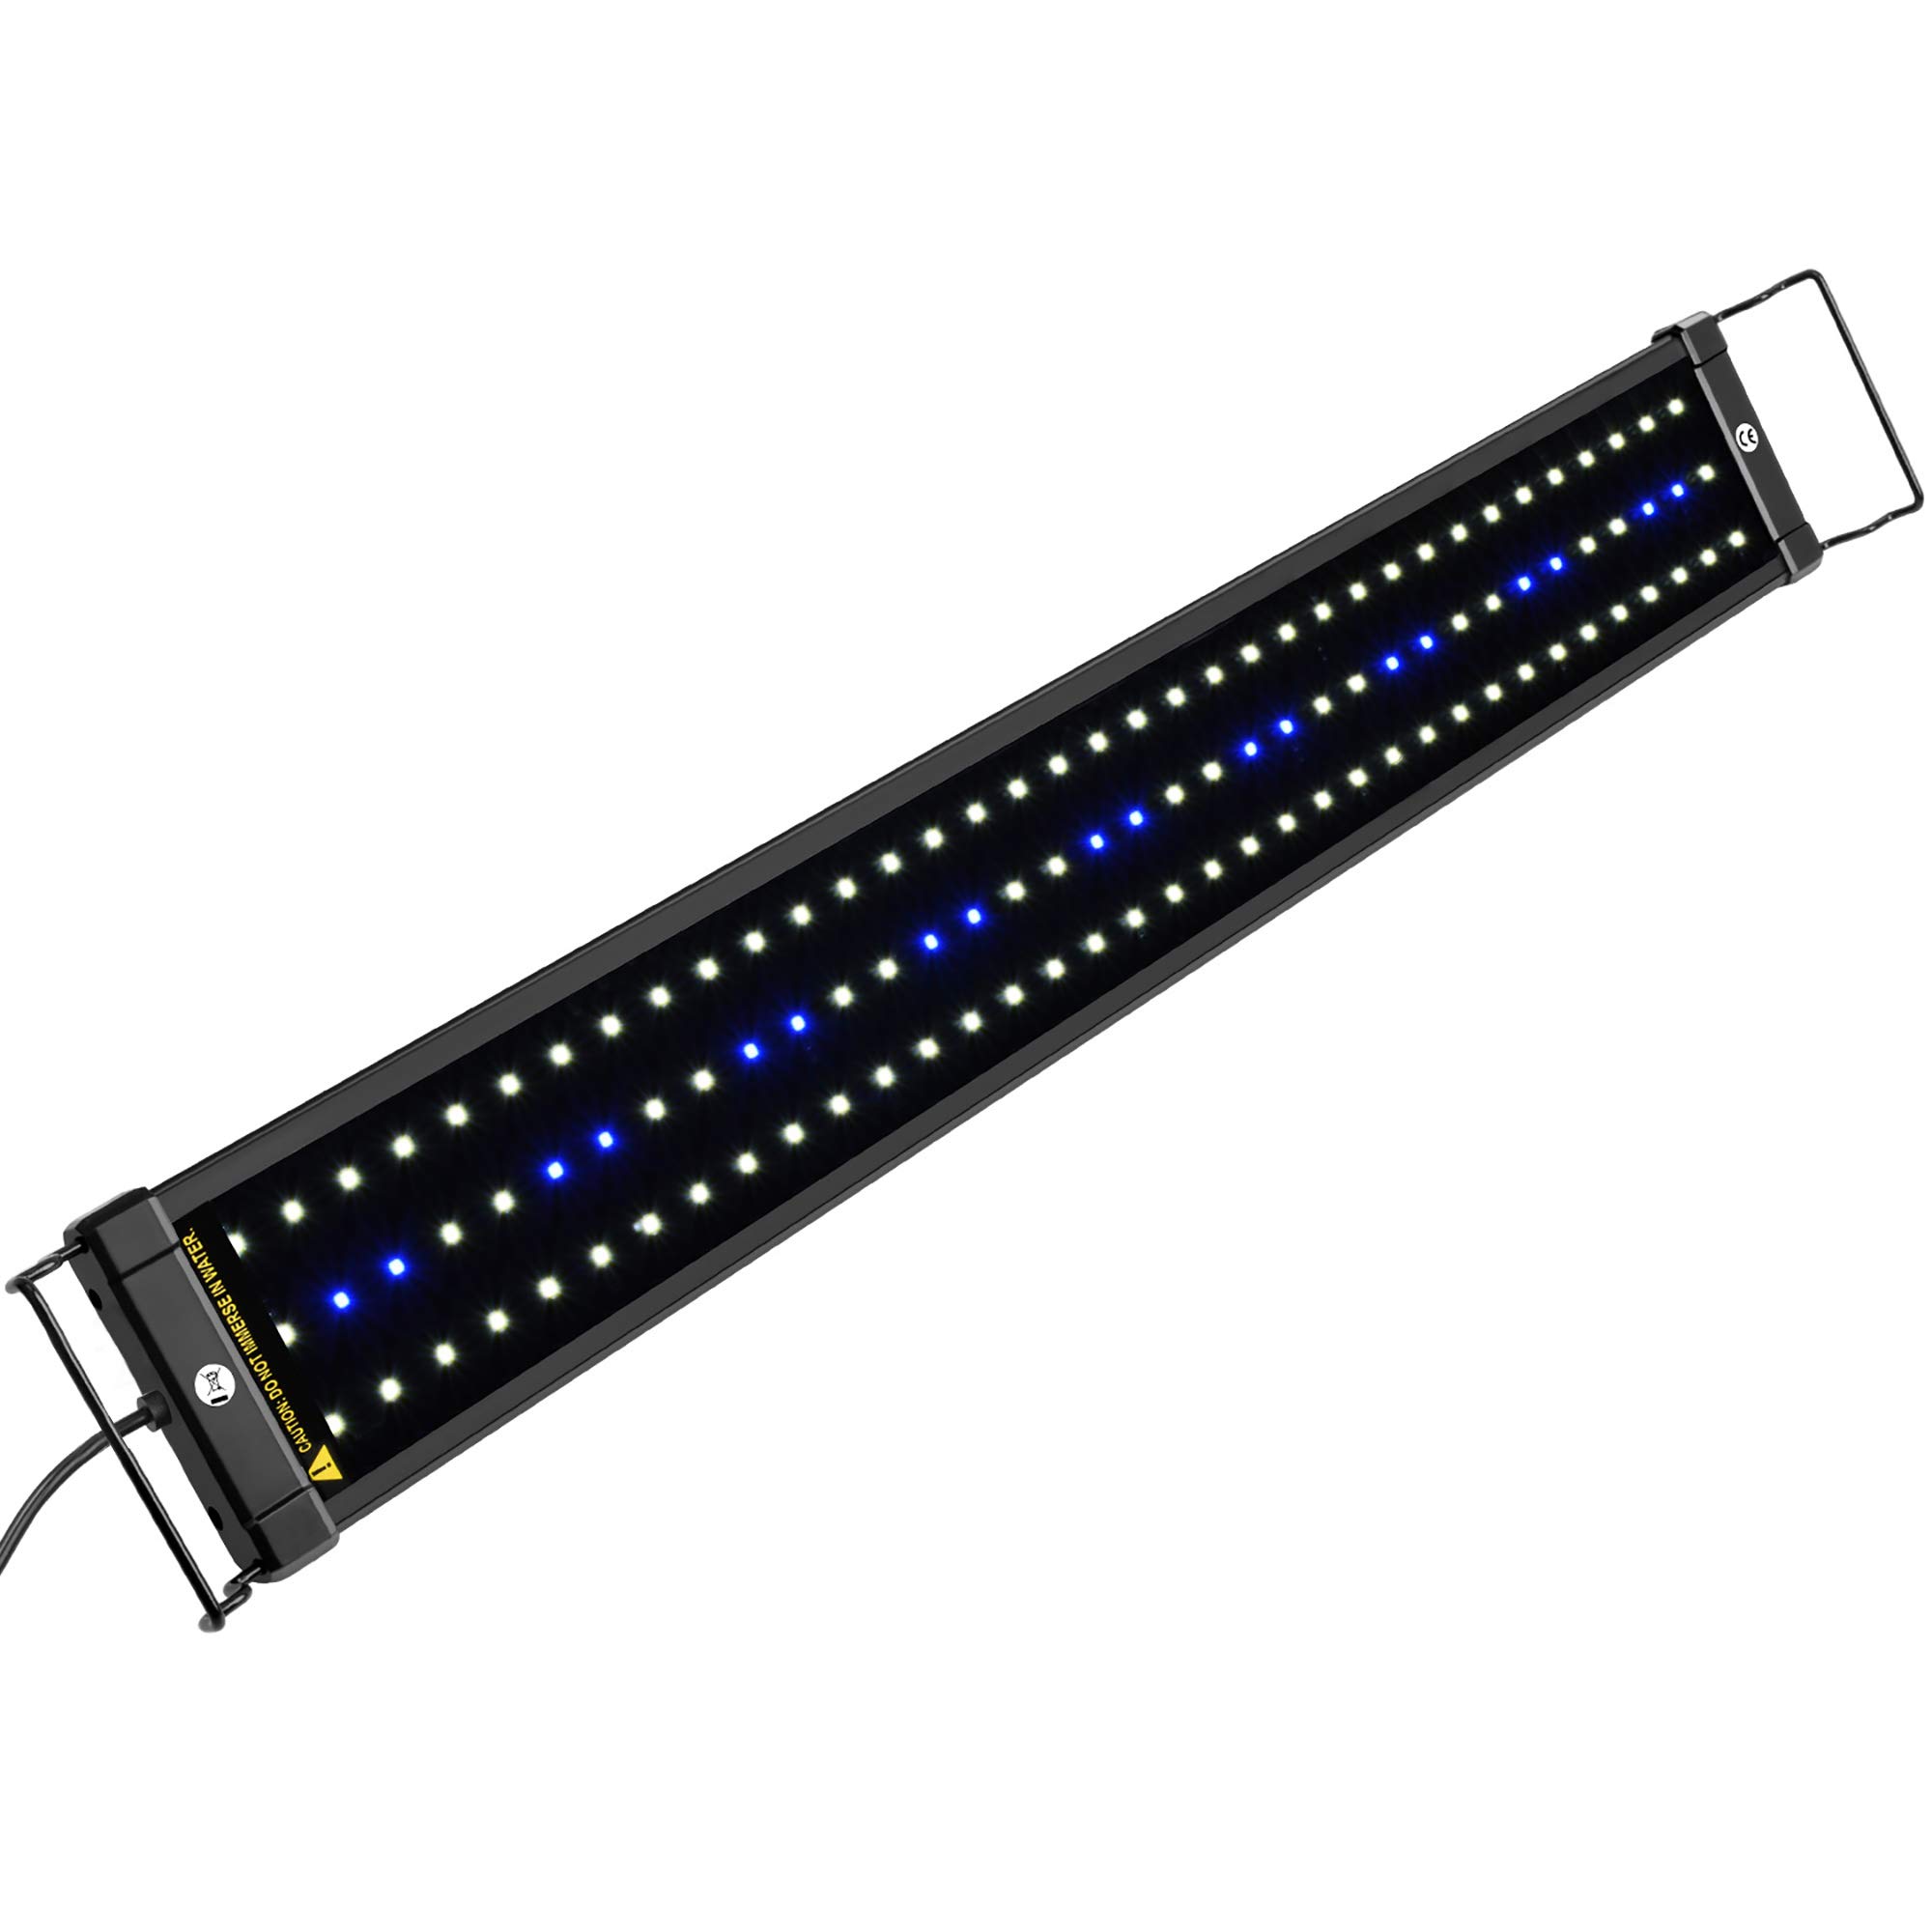
- Dim LED lighting: Angelfish prefer subdued lighting during spawning. A dimmable LED on a 10-12 hour cycle works well; refer to this aquarium lighting guide for spectrum and intensity considerations that avoid stressing pairs.
Common Setup Mistakes to Avoid
The most frequent mistakes that derail an Eheim Classic 250 in a breeding context are: skipping the intake sponge (and losing the first free-swimming brood), running the pump at full output (and exhausting parents), packing the canister with mechanical media at the expense of biological capacity (and crashing during heavy fry feeding), and over-cleaning. The Classic rewards slow, infrequent, gentle maintenance. If you are tempted to break it down monthly, you are working against it.
Frequently Asked Questions
How long does an Eheim Classic 250 take to fully cycle for an angelfish breeding tank?
From scratch with pure ammonia dosing, expect four to six weeks. If you seed the canister with media from an established tank, cycling typically completes in two to three weeks. Confirm zero ammonia and zero nitrite for at least seven consecutive days before introducing a pair.
Should I run the spray bar above or below the water line in a breeding tank?
Slightly below the surface, angled upward. This breaks the surface gently for gas exchange without producing splash that scatters fry or coats nearby glass with hard-water film. Submerging the spray bar deeper than two inches reduces oxygenation and can lead to film algae.
Can the Classic 2213 handle a 40-gallon breeder with a fry brood?
Yes, comfortably. The 2213 is rated to 66 gallons and a 40-breeder with a single pair plus a brood of 100-300 fry sits well within its biological capacity, provided you maintain daily water changes during the fry growth phase.
What media should I avoid putting in the Classic 250 for breeding?
Avoid activated carbon during spawning and fry rearing, because it can strip trace minerals fry need and can adsorb hormones that may influence pairing. Skip phosphate removers unless you have a specific algae problem. Stick to mechanical foam, sintered glass biomedia, and floss.
How do I keep angelfish fry from being sucked into the Eheim intake?
Cover the strainer with a coarse foam pre-filter sponge sized for a 12 mm intake. The sponge is fine enough to block fry from day one of free swimming, and it doubles as a grazing surface for infusoria that newly hatched fry feed on.
How often should I service the canister when raising angelfish fry?
Service the canister itself every six to eight weeks. Rinse the intake sponge weekly in old tank water. Replace the polishing floss every two to three weeks. Resist the urge to open the canister more frequently; the established bacterial colony is doing the heavy lifting during heavy fry feeding.
Is the Eheim Classic 250 quiet enough for a bedroom breeding tank?
Yes. The 2213 is one of the quietest canister filters made. Once primed and running, the only audible sound is gentle water movement at the spray bar. There are no electronic components or pulse pumps that introduce hum.
Final Thoughts
Knowing how to set up Eheim Classic 250 angelfish breeding tank conditions properly is mostly about restraint: oversize the filter, throttle the flow, build a heavy biological media stack, cover the intake, and resist over-maintenance. The Classic 2213 has been the breeder's quiet workhorse for more than thirty years because it does exactly what you ask of it and nothing else. Set it up with these steps and it will outlast several generations of angelfish in your fishroom.