As an Amazon Associate this site earns from qualifying purchases.
Picking the right co2 diffuser rimless 60p low clearance cabinet setup comes down to three constraints: vertical headroom inside the stand, the tight 36L water volume of a 60P (60x30x36cm) rimless tank, and the visual cleanliness rimless aquascapers expect. The short answer is that inline atomizer diffusers (mounted on the canister return hose) are the strongest choice for cabinets under 40cm of clearance, because they live outside the tank and free up vertical space. If you must stay in-tank, a low-profile pollen-style ceramic diffuser mounted horizontally near the lily pipe outflow is the next best option. Avoid tall ladder-style diffusers and oversized bazooka units — they were designed for open-top, deep cabinet rigs and will either crowd the scape or simply not fit.
This guide walks through how to size a CO2 diffuser for a 60P specifically, what "low clearance" actually means for solenoid and regulator placement, and which diffuser styles have the best dissolution rate at the working pressures a nano-to-medium planted tank typically runs (around 30-45 PSI for inline, 15-25 PSI for in-tank ceramic).
Why the 60P rimless creates a specific diffuser problem
The ADA-style 60P footprint is a sweet spot for aquascapers, but a few traits make CO2 diffuser selection trickier than on a standard 20-gallon long:
- Rimless glass means visible everything. Suction cups, tubing routing, and bubble columns all show. A diffuser that looks fine inside a hooded tank becomes an eyesore here.
- 36cm depth is shallow for in-tank diffusers. Bubbles from a tall ceramic diffuser only get ~25cm of contact time before hitting the surface, so dissolution efficiency drops.
- Low clearance cabinets (often 35-40cm internal height) force regulator stem height to be considered. Many dual-stage regulators stand 28-32cm tall with the bubble counter and solenoid attached, leaving almost no room for a paintball or 24oz CO2 cylinder above the manifold.
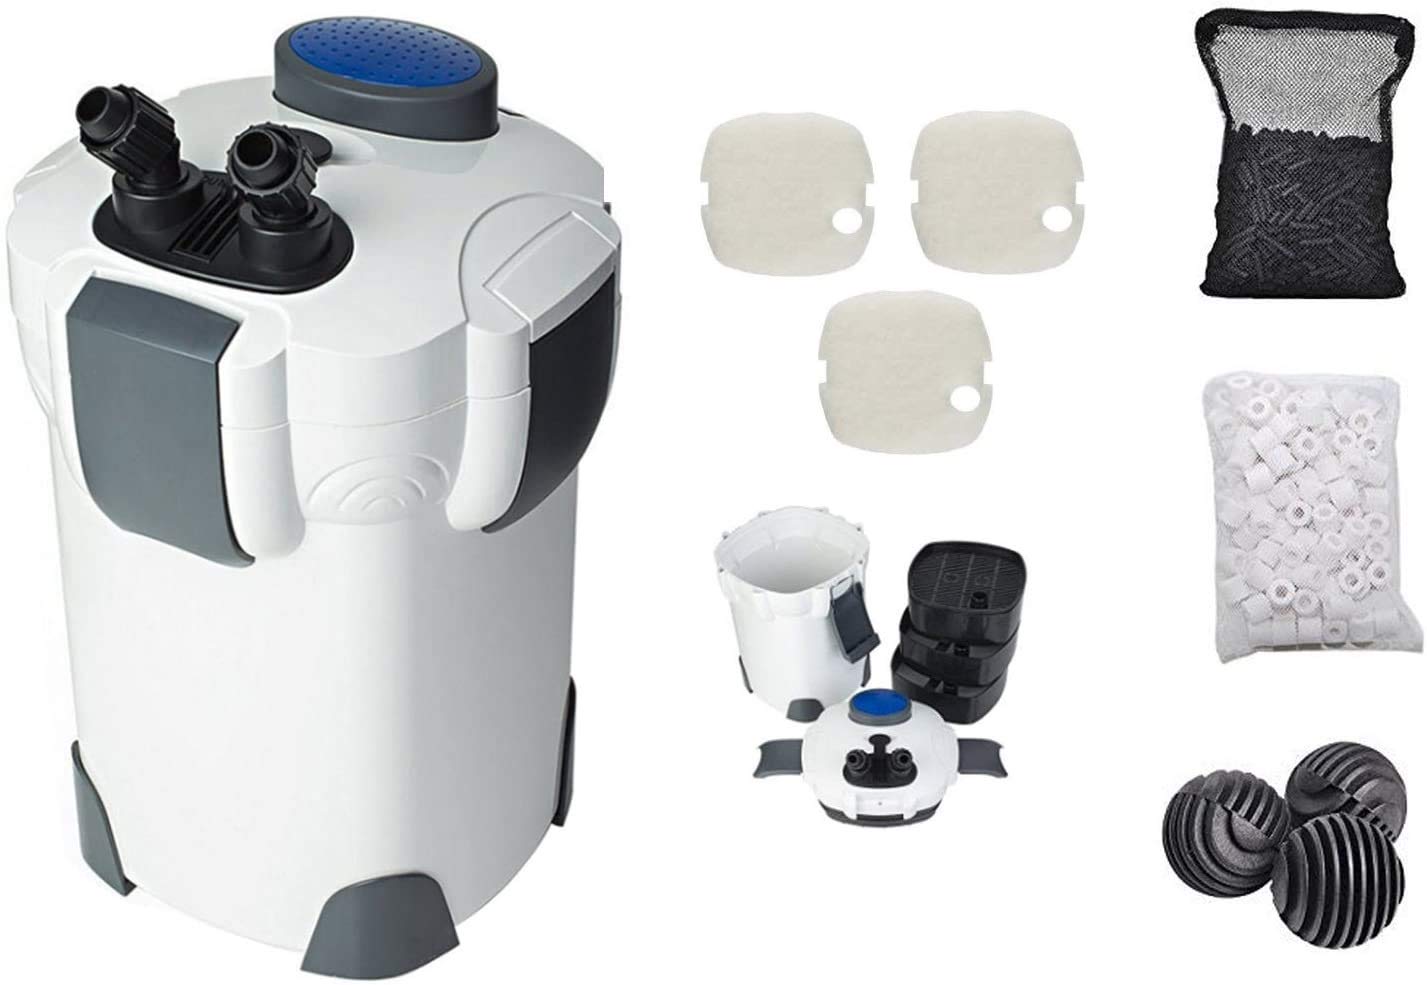
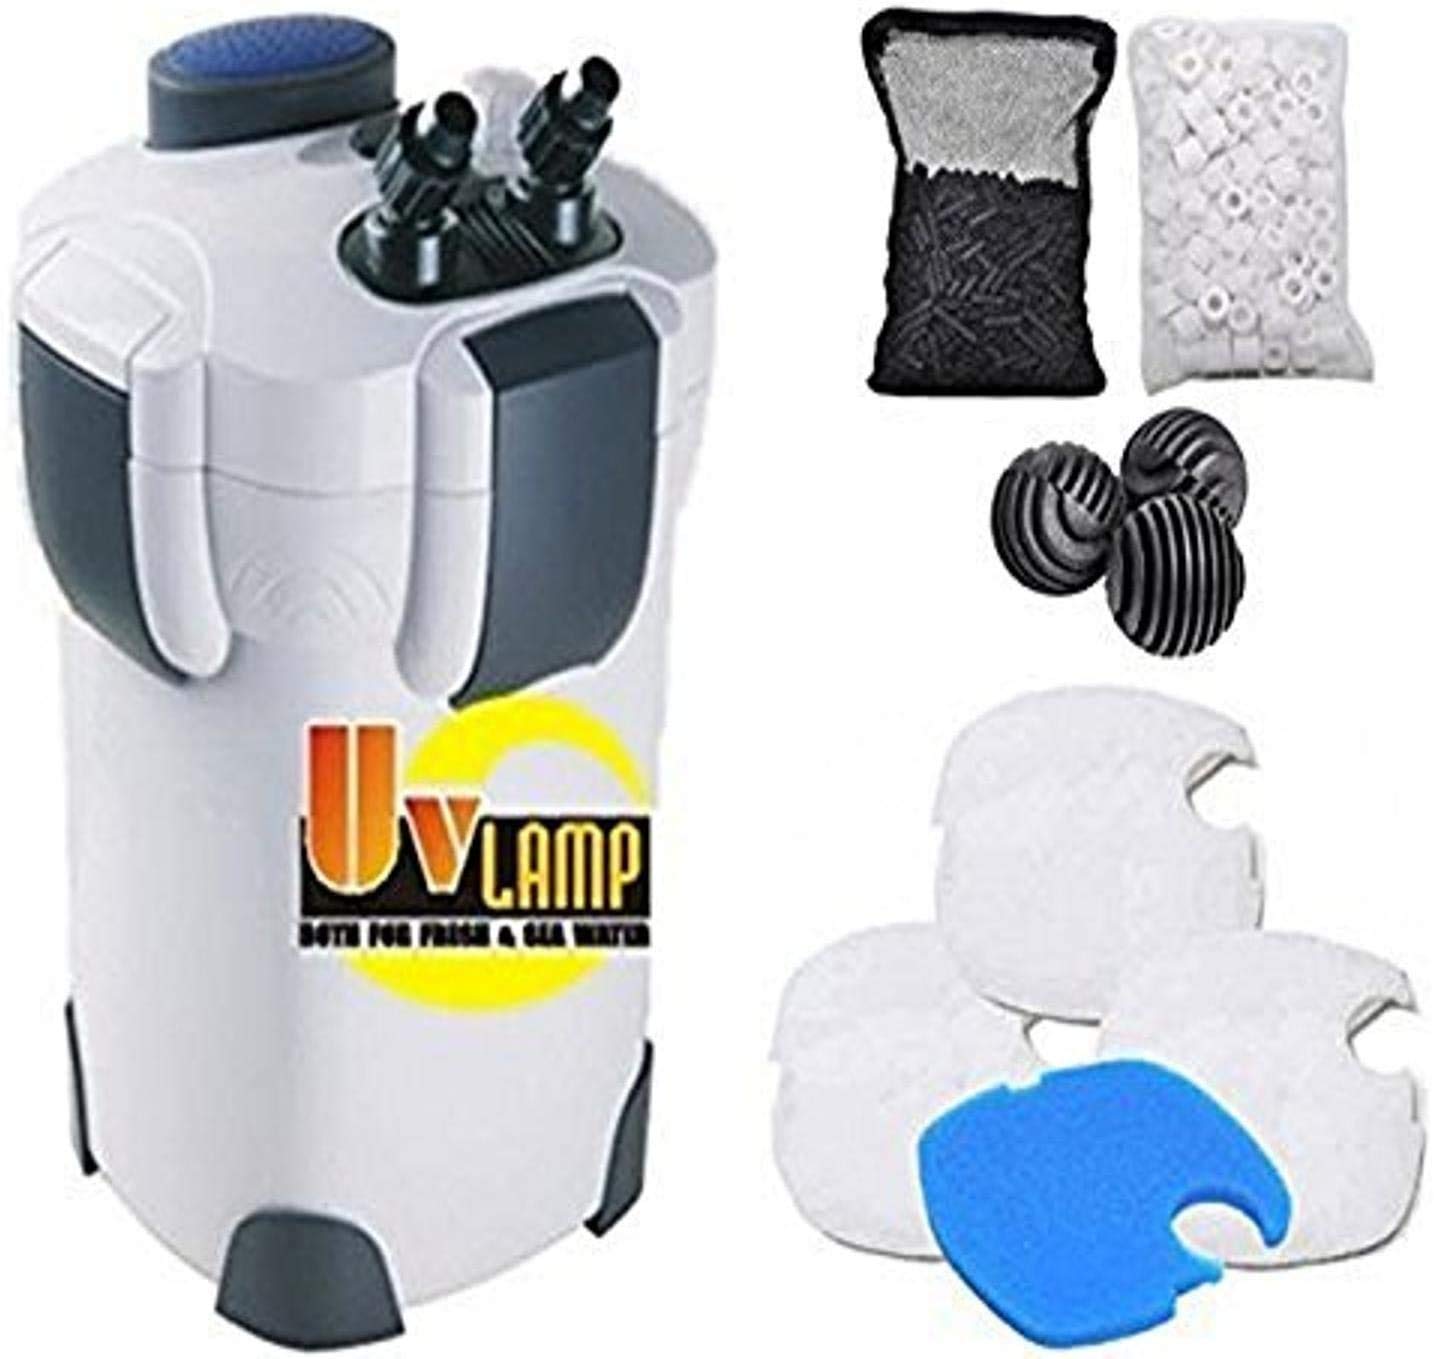
- Canister filters are usually external in this footprint (Eheim 2213, Oase BioMaster 250, Fluval 107/207), which is actually good news — it makes inline diffusion practical.
The takeaway: a co2 diffuser rimless 60p low clearance cabinet build should generally push diffusion out of the display and off the cabinet floor where the regulator lives.
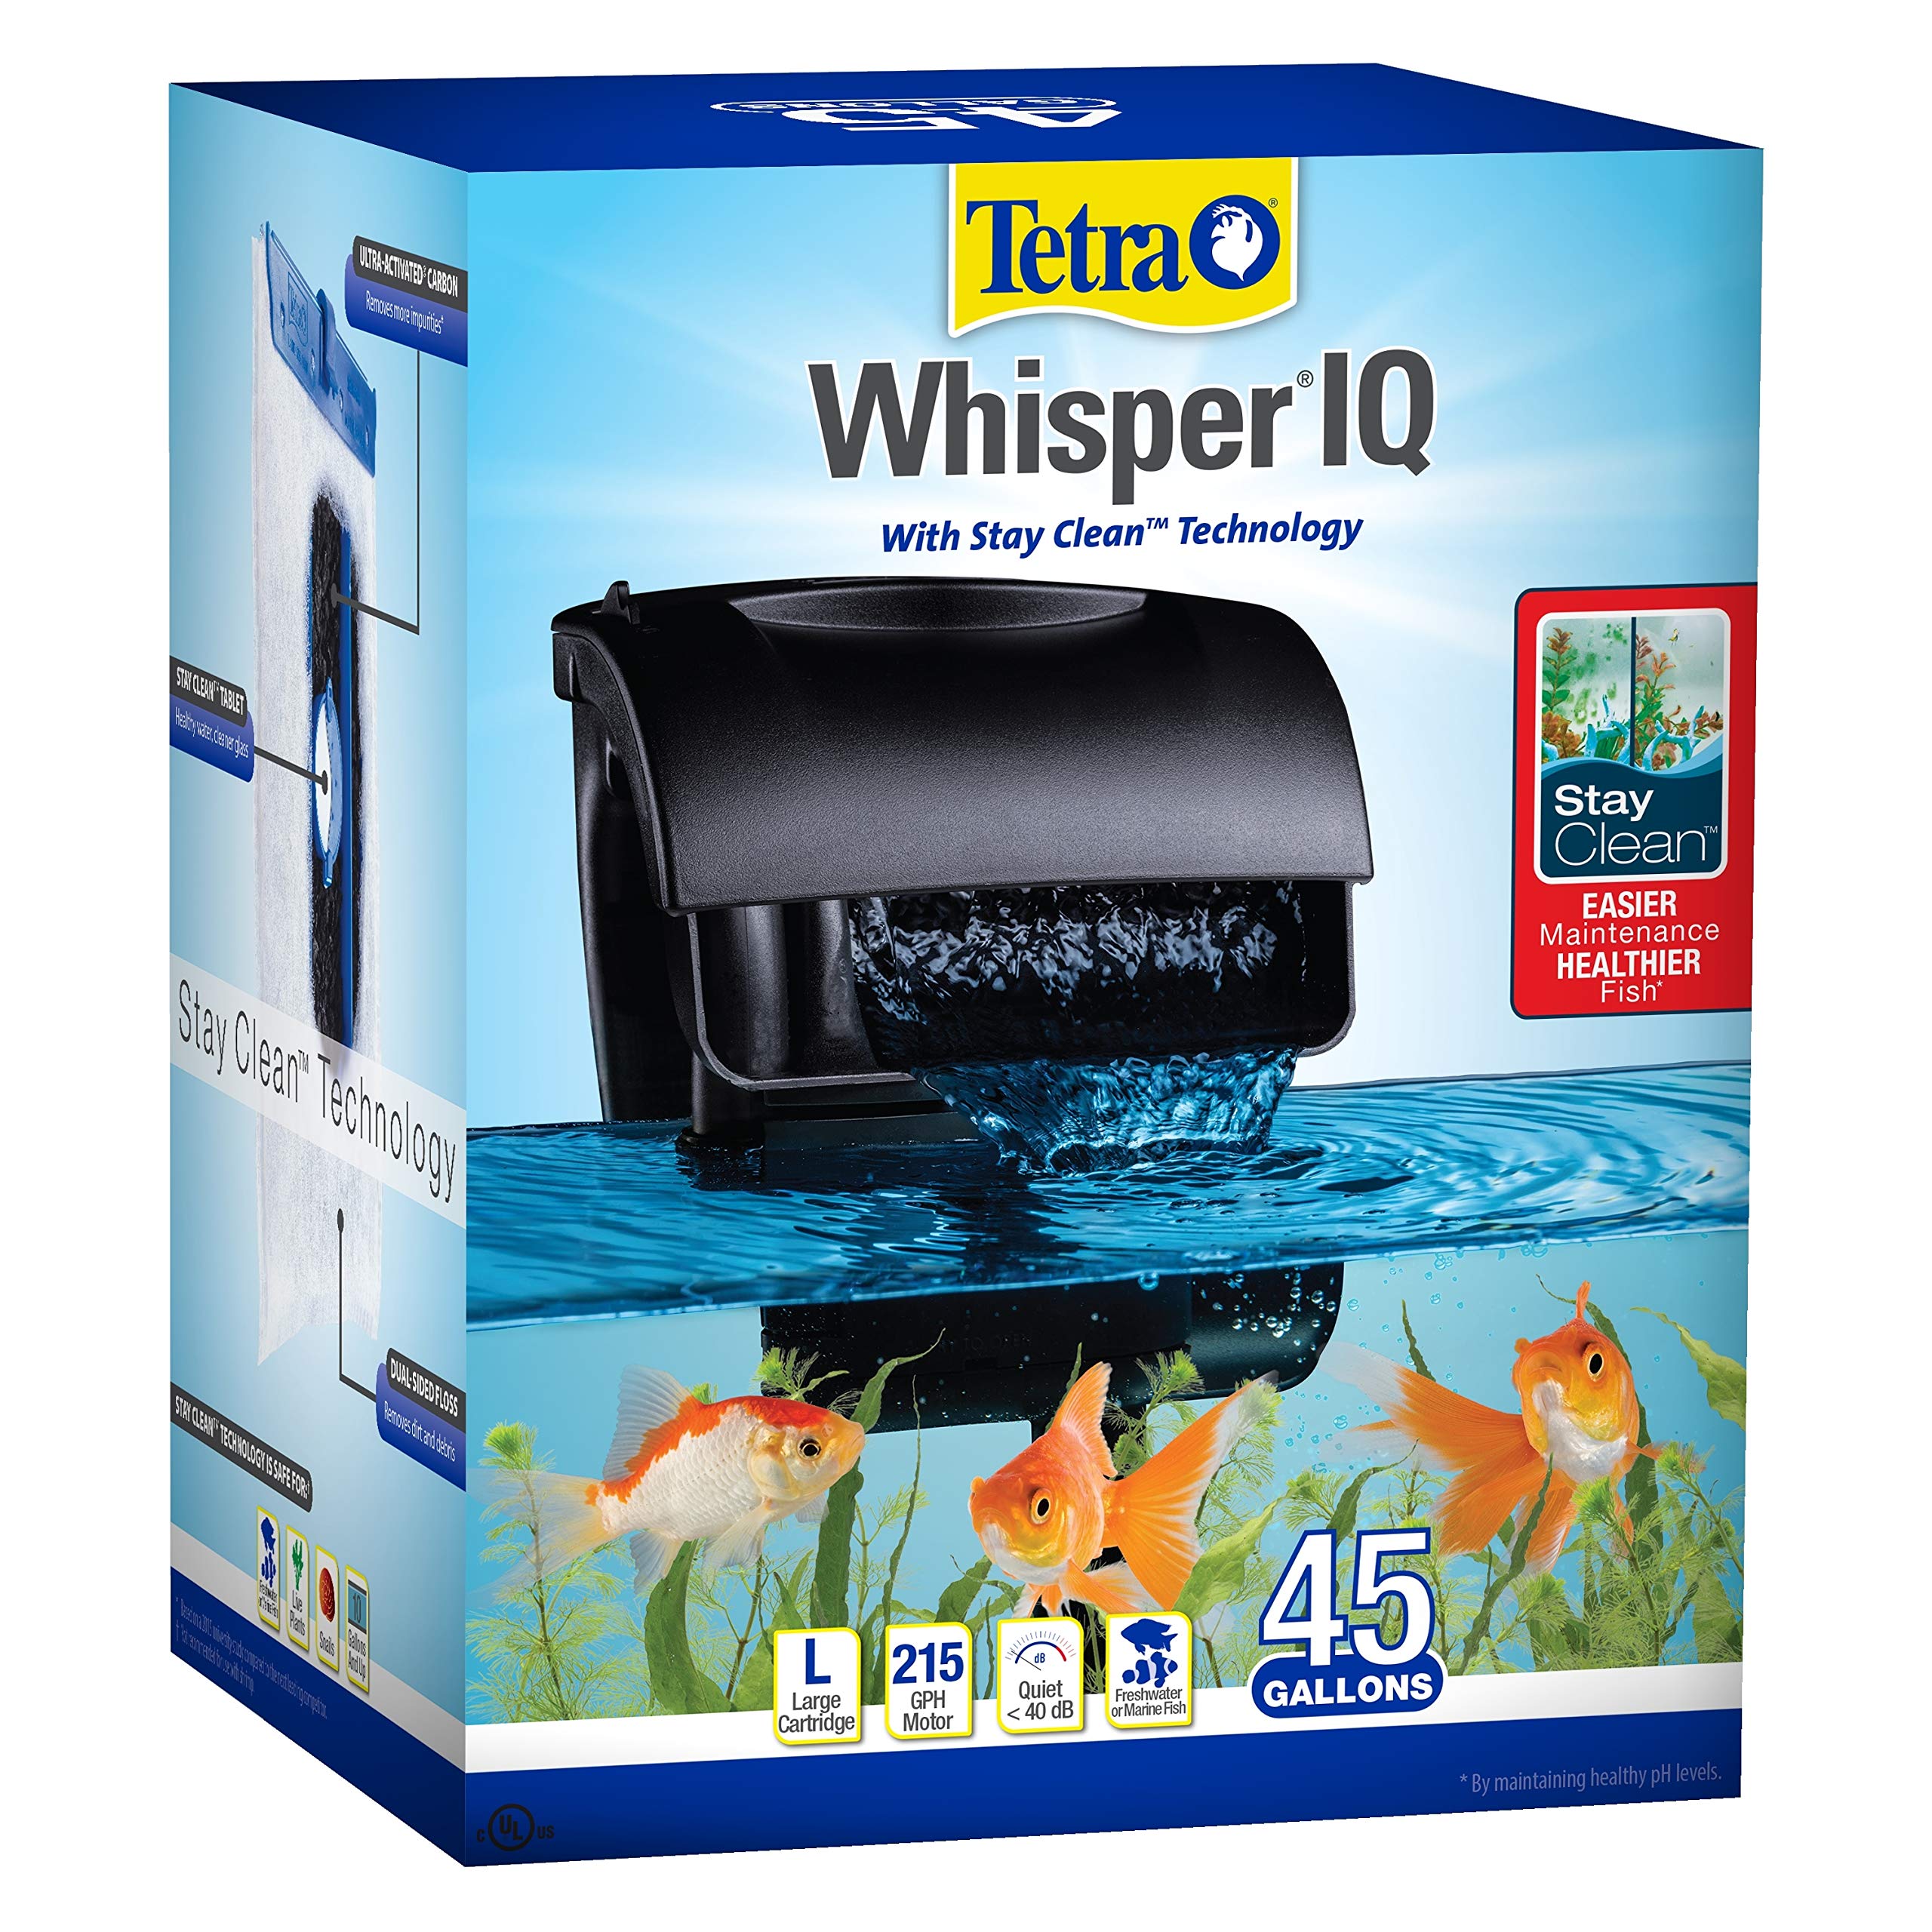
- QUIET AQUARIUM FILTER: The Tetra Whisper IQ Power Filter with Stay Clean technology contains a sound shield for quiet filtration less than 40 dB
- SELF PRIMING: Submerged motor starts up with no priming required
Comparison: diffuser styles for a 60P low-clearance build
| Diffuser style | In-tank footprint | Required pressure | Dissolution efficiency | Best for |
|---|---|---|---|---|
| Inline atomizer (canister hose) | None (lives in cabinet) | 30-45 PSI | High (85-95%) | 60P with external canister + low clearance |
| Pollen ceramic disc (in-tank) | Small disc + short stem | 15-25 PSI | Moderate (60-75%) | HOB or internal filter setups |
| Reactor (chamber-style) | None in tank, large in cabinet | 20-30 PSI | Very high (95%+) | Deep cabinets, advanced builds |
| Ladder diffuser | Large, visible | 5-10 PSI | Low-moderate | Budget hooded tanks (not rimless) |
Diffuser styles ranked for a low-clearance 60P
1. Inline atomizer (best overall)
Inline atomizers are short cylindrical units (usually 12/16mm or 16/22mm hose-barb compatible) that splice into the return line of your canister filter. CO2 enters under pressure, passes through a ceramic disc inside the housing, and the resulting micro-bubble cloud is injected directly into the filter outflow. By the time water reaches your lily pipe, much of the CO2 is already in solution and the rest is so finely dispersed that contact time across the tank finishes the job.
For a 60P this is almost always the right call: nothing in the display, no suction cups, no bubble column, and the diffuser itself lives in the cabinet on the return hose where vertical clearance is no longer an issue (it's only ~5cm in diameter and mounts horizontally). The trade-off is required working pressure — typically 30-45 PSI — which means you need a quality dual-stage regulator that can hold that consistently without end-of-tank dumping.
2. Low-profile in-tank ceramic (pollen disc)
If your canister hose routing makes an inline impractical (e.g., you're running a hang-on-back filter or an internal canister like the Oase Filtosmart), a flat pollen-style ceramic disc is your backup. Look for units where the ceramic disc sits roughly perpendicular to the glass with a short stem — these maximize the horizontal distance bubbles travel and minimize the visual footprint. Mount it under the lily pipe outflow so the current sweeps the bubble cloud across the tank rather than letting it rise in a straight column.
Glass diffusers in the 20-25mm disc range tend to suit a 60P; anything larger looks oversized in this footprint. Plastic-bodied versions are cheaper but yellow over time and harder to clean.
3. Reactor (for advanced setups only)
CO2 reactors (the Cerges-style PVC chamber or the Aquario Neo Diffuser Mix style) achieve near-100% dissolution but add significant plumbing bulk. In a low-clearance cabinet this is usually the wrong direction — a vertical reactor needs 25-35cm of standing height and you've already committed most of that to the regulator and canister. Skip this for a 60P unless you're running custom plumbing.
4. What to avoid
Ladder diffusers, bell diffusers, and powerhead-driven Turbo CO2 units all exist for reasons, but on a 60P rimless they either look wrong, occupy too much aquascape real estate, or require water-column hardware that defeats the point of going rimless in the first place.
Regulator and clearance: the part most guides skip
You can pick the perfect diffuser and still end up with a non-functional rig if the regulator doesn't fit under your cabinet. Most 60P cabinets from popular aquascape-focused brands have internal heights between 35 and 45cm. A standard dual-stage regulator with bubble counter, solenoid, and check valve mounted vertically often stands 28-32cm tall, before you add the CO2 cylinder itself.
Three workarounds for low-clearance builds:
- Use a paintball or 24oz disposable CO2 cylinder horizontally. Some adapters allow the cylinder to lie on its side, freeing 25-30cm of vertical space.
- Mount the cylinder outside the cabinet. A 2.5lb or 5lb tank can sit beside the stand and feed in through a small cable grommet, leaving only the bubble counter and check valve inside.
- Choose a low-profile regulator with a side-mounted solenoid and an external bubble counter that screws into a hose tee further down the line, rather than stacking everything vertically on the regulator stem.
Measure twice. Open your cabinet, measure from the floor of the cabinet to the underside of the tank base (not the cabinet top), and subtract another 2-3cm for the cylinder cap and any wiring you'll route over the top.
Bubble rate, drop checker, and dialing it in on a 60P
A 60P holds roughly 36 liters gross / ~30 liters net after substrate and hardscape. Starting bubble rates depend on the diffuser:
- Inline atomizer: Start at 1 bubble per second (bps), increase 1 bps every 2-3 days until your drop checker shifts from blue to lime-green roughly 1 hour after CO2 onset.
- In-tank pollen ceramic: Start at 2 bps because dissolution is less efficient — you're compensating for the lower contact time of a shallow tank.
Place the drop checker on the opposite end of the tank from your outflow so it reads the lowest-CO2 zone. If that corner reads lime-green, the whole tank is at target. For broader water-chemistry context, our aquarium water care guide covers how CO2 injection interacts with KH, pH swings, and livestock tolerance — worth reading before you crank the bubble count.
Filter pairing matters more on a 60P than on bigger tanks
The smaller the tank, the more flow turnover affects CO2 distribution. For a 60P with CO2 injection, target 5-8x turnover (180-280 lph net flow after media restriction). An Oase BioMaster 250, Eheim 2213, or Fluval 207 all sit in this range. If you're running an inline atomizer, make sure the canister can tolerate the slight back-pressure from the diffuser disc — most modern canisters can, but very old impellers may slow noticeably.
Filter outflow direction also matters: aim the lily pipe so the surface ripple is gentle but present (avoid a glass-like still surface, which traps CO2 and starves O2 at night). If you're still finalizing your filter choice, our guide to the best aquarium filter walks through how to match canister capacity to planted-tank demands.
Maintenance: ceramic disc cleaning and solenoid life
All ceramic diffusers — inline or in-tank — clog over time as biofilm and mineral scale block the micro-pores. Symptoms: bubble size grows visibly larger, working pressure climbs, and dissolution drops. Soak the ceramic disc in a 10% bleach solution for 20 minutes, rinse thoroughly, then a dechlorinator soak before reinstalling. Most discs need this every 3-6 months on a planted tank.
Solenoids are the other wear item. Cheap solenoids run hot and fail within a year; quality ones (Burkert, GLA, CO2 Art Pro-Elite class) run cool to the touch and last 5+ years. On a low-clearance cabinet a hot solenoid is also a fire concern — not catastrophic, but worth picking a cool-running unit when ventilation is limited.
Putting it together: a recommended low-clearance 60P CO2 stack
For most readers building a co2 diffuser rimless 60p low clearance cabinet system from scratch, this combination works:
- External canister filter (Oase BioMaster 250 / Eheim 2213 / Fluval 207) sized for 5-8x turnover
- Inline atomizer diffuser spliced into the return hose, mounted horizontally
- Cool-running dual-stage regulator with side-mounted solenoid
- CO2 cylinder mounted horizontally inside the cabinet, or vertically just outside it
- Drop checker placed diagonally opposite the outflow
- Light timer synced so CO2 starts 1 hour before lights and ends 1 hour before lights off
If you also haven't dialed in your lighting yet, the photoperiod and PAR you choose will determine how much CO2 demand the plants generate. The aquarium lighting guide covers how to match light intensity to CO2 availability so you don't end up algae-blooming a perfectly diffused tank.
Frequently Asked Questions
Can I use an inline CO2 diffuser with an internal filter on a 60P?
Technically yes, but only if the internal filter has an external output hose you can splice into — which most don't. If your filter is fully internal (sponge filter, fully-submerged powerhead), an inline atomizer has nowhere to live. Use a low-profile in-tank pollen ceramic diffuser instead, mounted near the filter's outflow so the current distributes the micro-bubbles.
What's the minimum cabinet clearance I need for a complete CO2 setup?
With a horizontally mounted paintball or 24oz cylinder, you can fit a full regulator + solenoid + bubble counter stack into roughly 25cm of vertical clearance. For a standard 2.5lb cylinder mounted vertically, plan on at least 50cm of internal height — which exceeds most low-clearance 60P cabinets, so external cylinder mounting is usually the better path.
Will an inline atomizer hurt my canister filter's flow rate?
Slightly. Inline atomizers add a small amount of back-pressure due to the ceramic disc inside. On a healthy modern canister (Oase BioMaster, Fluval 07 series, Eheim Pro/Classic) the flow reduction is typically 5-10%, which is well within the canister's design tolerance. On older or budget canisters with weaker impellers, the reduction can be larger — worth testing before committing.
How do I stop CO2 micro-bubbles from blowing all over my 60P aquascape?
This is mostly an outflow-angle problem. Point the lily pipe slightly downward and along the back glass so the current carries bubbles in a sweeping pattern rather than blasting them across the foreground. If bubbles still cling to plant leaves, lower the bubble rate slightly — visible "pearling" of injected CO2 (different from photosynthetic pearling) means you're over-injecting or under-dissolving.
Is a CO2 reactor worth it on a 60P or is it overkill?
For a 60P, a reactor is usually overkill and creates the exact clearance problem you're trying to solve. Inline atomizers hit 85-95% dissolution efficiency in a 36L tank, which is more than enough for any plant species realistically kept in this footprint. Reservers reactors for tanks 200L+ where the extra 5-10% dissolution actually matters and where cabinet space is more generous.
What working pressure should I set the regulator to for an inline diffuser?
Start at 30 PSI and adjust upward in 5 PSI increments until you see a fine, even mist of micro-bubbles in the return line (you can usually see them through transparent tubing for the first 30cm after the diffuser). Most quality inline atomizers operate cleanly between 30-45 PSI. If you need to push past 45 PSI to get any flow, the ceramic disc is likely clogged and needs cleaning.
Do I need a check valve with an inline CO2 diffuser?
Yes, and ideally two: one immediately after the bubble counter (to prevent water from siphoning back into the regulator) and one between the diffuser and the CO2 line (to prevent water intrusion when the solenoid closes). Inline atomizers sit downstream of the canister's water pressure, so back-flow risk is real every time the solenoid cycles off.